Tuesday, 18 February 2014

Mechanicum WIP 2


Gday Guys,

Just a quick post to give an update on the 1000pt Mechanicum Army I am working on. This one is pic heavy - if you want any close ups of anything just ask and can post them up for you.

Undercoating with Knights Flat Black enamel


With all the prep done, it is time to undercoat. A couple of mates from our local gaming community have been using a spray paint from Bunnings as a primer. I have always been hesitant to use this but thought I would give it a go. I used "Knights - Matt Black enamel" spray and I have to say it works really well. No peeling or chipping, you can even try and scratch it (within reason) and the paint wont come off. The Citadel paints stick really well to it as well so win win. I guess the real test will be to see how it goes over a couple of years, but at $6 AUD a can you cant go wrong.


More undercoating


For the Magos I used GW Mephiston Red and gave it a highlight with the airbrush using GW Evil Sunz Scarlet.


Magos Dominos with reds reminiscent of Mars


The Castellax Battle Automata used the same reds as the Magos. The reds look a little bright but after some detail and weathering it will tone them down a bit. I really like these reds as it looks a lot like I would imagine the surface of Mars to be. I have seen quite a few darker reds used on Mechanicum but I think this will do the trick.


A Castellax Battle-Automata on the assembly line

Mephiston Red highlighted with Evil Sunz Scarlet via airbrush

Thallax Cohort were done with a pure GW Sycorax Bronze. I tried to highlight this one with the airbrush using GW Gehenna's Gold but it came out much brighter than I wanted it to. It got redone with the rest using straight GW Sycorax Bronze and will be highlighted by hand.


A Thallax with Gehenna's Gold highlights, this would be later repainted with straight Balthasar Gold


For the golds on the Castellax I used GW Balthasar Gold as a base, and worked up using two layers of GW Sycorax Bronze and GW Gehenna's Gold down the centre line. Another technique that I trialed was the use of Blu-tac as a mask for airbrushing. Like the primer, I was dubious at first but this turned out to be a great material for masking awkward corners and otherwise hard to mask with tape areas. I used this technique for painting one of the shoulder pads black. The black pad was then airbrush highlighted with GW Mechanicus Standard Grey.


Masking up with Tamiya modeller's tape and good old Blu-tac

Masking en-masse

First layer of Balthasar Gold


The Bolt Cannons were given a light dusting of GW Mechanicus Standard Grey and skulls were airbrushed GW Bleached Bone.


Gold done, black with Mechanicus Standard Grey highlight


Darkfire Cannon barrels are airbrushed with GW Runefang Steel.


Base coat and highlights for a Castellax Battle-Automata complete

Up close with a Castellax


The inner shoulder pads are based with GW Balthasar Gold, then highlighted with GW Gehenna's Gold giving a burnished effect.


Edging done on an inner shoulder pad


The Magos headpiece was the same as the Castellax, base of GW Balthasar Gold and layered with GW Sycorax Bronze and GW Gehenna's Gold.


Magos gold with highlighting done

This angle shows the highlight down the centre line


So there you have it - 1000pts of Mechanicum base coated and ready for some detail!


The Mechanicum Army in it's entirety

Castellax Battle-Automata with Darkfire Cannons

Castellax Battle-Automata with Bolt Cannons

Magos Dominos and Thallax Cohort

It's been a solid slug so far, with some detailing, weathering and basing left. I will give another pic heavy update once my next stage is complete. As always, comments and critiques are welcome.

Cheers

Keepy

Links:

1. Mechanicum 1000pts List
2. Mechanicum WIP 1
3. Mechanicum WIP 2
4. Mechanicum WIP 3 - Basing
5. Mechanicum WIP 4
6. Mechanicum 1000pts Completed!


Friday, 14 February 2014

A Galaxy In Flames Tutorial: Sponge Weathering on Light/Dark Vehicles.

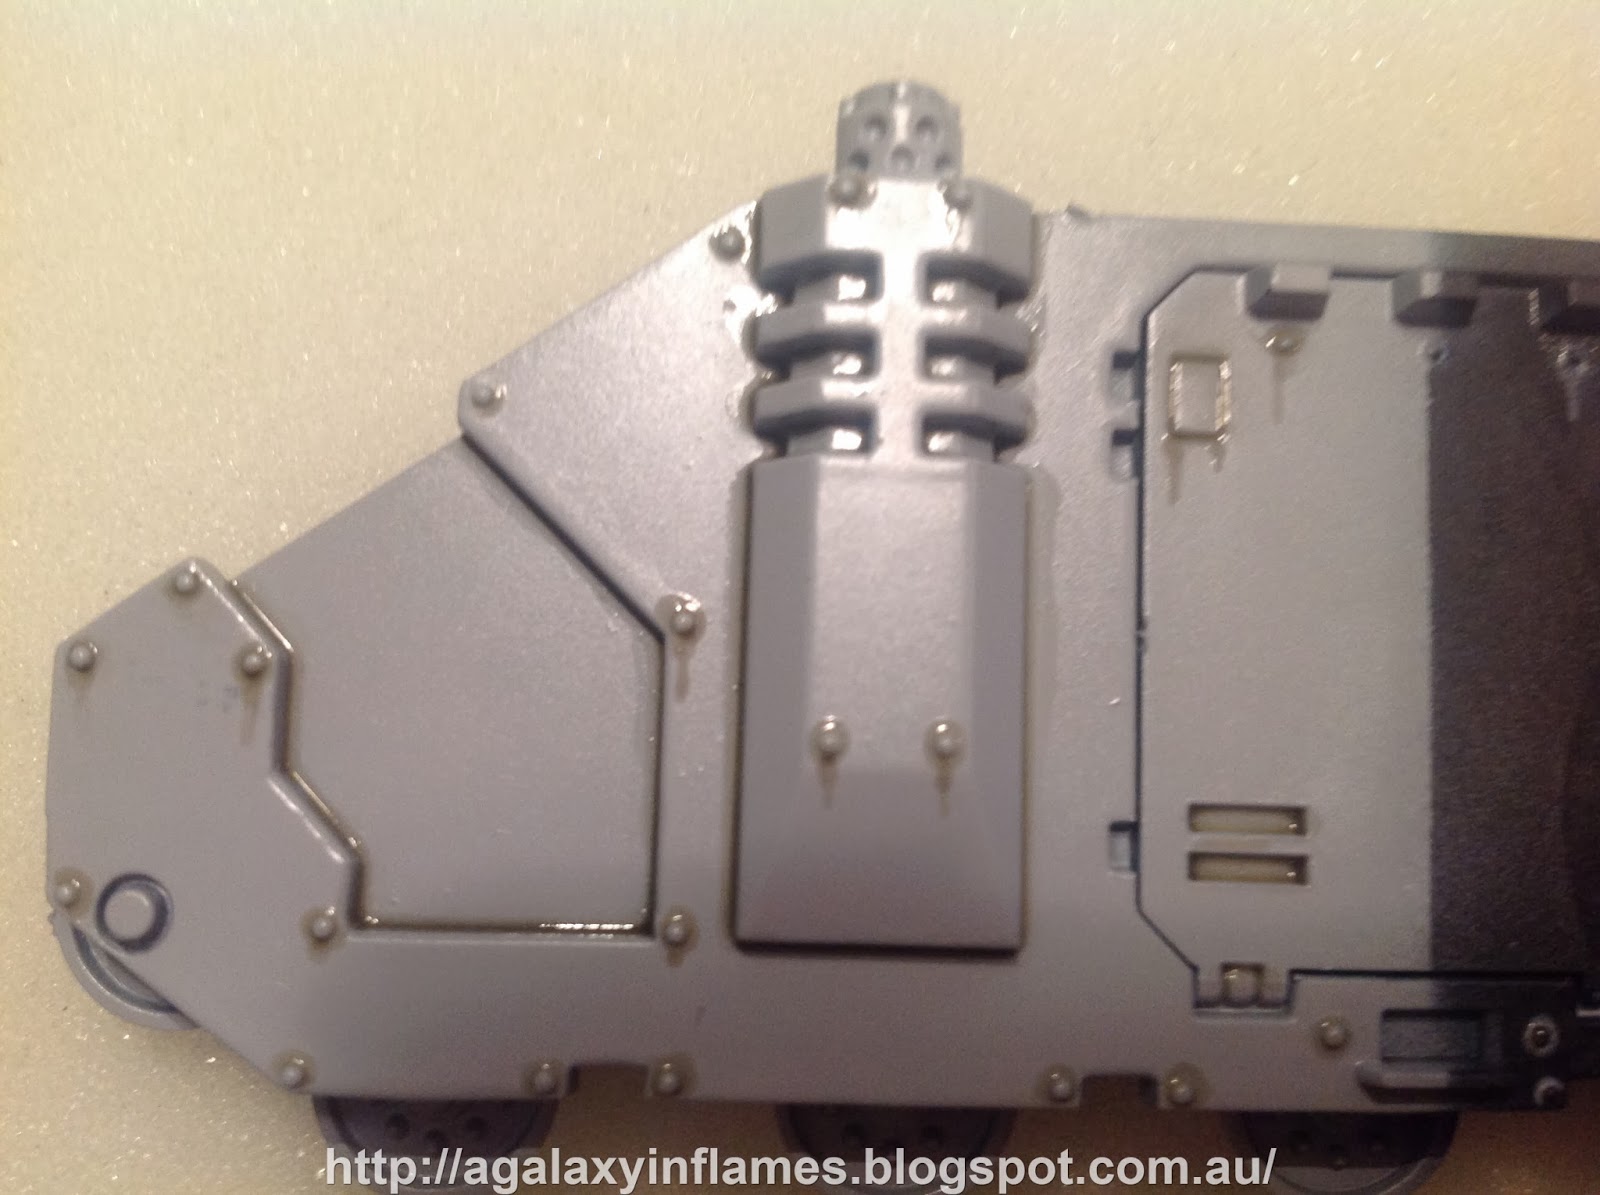
Today we pick up where we left off yesterday. The tank hull from the Rhino we have been using for out tutorials on Oil Paints is the same hull being used for the weathering tutorial. In this tutorial, we will cover the use of the 'sponging' technique for weathering/battle damaging vehicles.

I have chosen to focus on light grey and black, as these are a great starting point. Green, red and blue will feature in my next sponge tutorial.


To start off with, we have a small selection of parts and paints required. I have chosen to use a couple of different paints, but the brand isn't too important, they are just here for demonstration purposes.


 Ok, so here is a bit of sponge I have torn off. It is important that you have a rough edge, as a flat surface will leave a flat pattern. We want a rough, inconsistent texture to be applied by the sponge, as it is more organic then a set of identical marks.


 The first layer applied is a small black layer. I am using black as it contrasts heavily with the white/grey hull. We want to start dark on a light hull, and work our way down to a light colour, and then we want to do the opposite with the dark hull, that is, working from light to dark.

It is important to not place the black on too heavily, as the black will quickly overpower the grey hull.


 The second layer uses a dark grey. this is the main weathering layer, and is used to place the majority of damage. With a vehicle, the forward hull will suffer greater damage, so I have sponged slightly heavier on the front of the exhaust and sloping front portions of the hull.


Finally, I have used a very light grey to apply small chips onto a couple of areas and plate edges. The light grey will help to break up the darker colours beneath.


 With the black hull, I have used the light grey first. Again, this is for contrast, and should not overpower the base colour.


 The dark grey has now been sponged over the light grey, diluting the lighter tones and giving a more natural feel.


 Finally, a very light black sponging has been done over the previous colours. This helps to further break up the hull, allowing for a more mottled colour pattern.


So here you have it, the finished hull halves. I have not weathered the side hatch, as I had glued it in place earlier, but I will attempt to make up for this in the next tutorials.

 Also, I would like to apologize for the glossy sheen on the hull, the gloss varnish applied earlier to seal the oils is reflecting the light no matter what angle I lay the hull at.

Thursday, 13 February 2014

A Galaxy In Flames Tutorial: Working With Oils- Part 2

Hello, Macca here with Part 2 on the use of oils. This time out, we will cove the use of oils in weathering applications.


So, to get started, we are using all the same kit we used in the first tutorial. I have also decided to show the collection of oil paints I am using in this tutorial, as well as the test hull.


So here I am showing the No.2 medium. I am using the No.2 as it will stay liquid for longer. Normally, oil mediums will take a day to dry, however, the medium has a tendency to become 'gummy' after about 5-10 minutes. Keep this in mind when you mix oils, that you may have to re-thin them using either more medium, or artists turpentine.


Here are the colours I have mixed. The green/brown is an oily type colour, ideal for use on the grey hull as it will contrast nicely with the light grey tone. The yellow/white is for use on the black hull as a dust effect. I then mixed it again with more white (not shown) for the rivets.


I then placed the washes all around the rivets and hull plate edges, making sure to not place too much or letting it pool.


 So this is what you have with the oils applied. The rivets are clearly defined, and a thin line can be seen around the hull plates.


At this point, we wait for the oil to gum up. I thin get a very CLEAN brush. This brush is then moistened in artists turpentine. The brush is used to gently stroke away from the rivet. The turpentine breaks the gum effect, and allows the oil to streak. This is one of two ways this can be done. The other way (not shown) is to place a drop of undiluted oil at a point, then to spread it using the same method. I do not favour this method as it is less predictable and can be too stark a contrast. I have mentioned it as something to keep in mind if you want to try it.


So here is our black hull. You can see the glossy sheen around the panels from the medium, but this won't be visible after the oil wash has been sealed with varnish, as it is merely a clear run-off.


Here is the grey hull, with oil stains leaking from the rivets.


This is the hull from a distance. I will be utilising this same hull in a future tutorial detailing weathering on light and dark hulls. Below are alternate views of the oils.


Well, that's all for now, I hope you have picked up something. As always, feel free to comment/discuss below.

Wednesday, 12 February 2014

A Galaxy In Flames Tutorial: Working With Oils- Part 1

G'day all, Macca here,

I have often been asked in the past about working with oils. I have said a few quick words on it in earlier posts, but I would like to use this opportunity to talk about it more in depth.

So here goes.


 First up we have all the bits we need, from left to right, top to bottom, we have our paint medium, oil paint, artists turps, mixing brush, delivery brush, cleaning bottle, our test model, and our palette.


 These are the mediums, Art Spectrum brand, $10.20 Australian Dollars, so pretty cheap, even for here, these things will last you quite a while (I have painted 3000 points of Legion Raven Guard and have barely used a tenth of one). These are ESSENTIAL for working with oil paints, as they allow you to correctly thin the paints and bond excellently to the surface.

Note: Water and conventional thinners etc will not work correctly, as we all know that you can't mix oil and water without an emulsifier (those in science or tradie land know what I mean), so don't do it.


 Here I have the oils. As an example, I have Art Spectrum Lamp Black, and Art Prism Zinc White. For the purpose of this Tutorial, I will be using the Lamp Black.


 Here is artists turps. Again, we have Art Spectrum brand, but that's not important. What is is what's in the bottle. Regular turpentine from the supermarket is nasty stuff. It contains a lot of chemicals which are bad for the paint, and bad for you (Don't get me wrong, this stuff is still bad for you, don't go mixing it with loaves of bread and drinking it, cos' in all likelihood, you will die).

It is, however, much better for use in working with your oils, as a dillutant, or as a medium in its own right, (more on that later~ Macca).


 Here is 'Fred' the Space Marine, our demo model. Isn't he lovely?


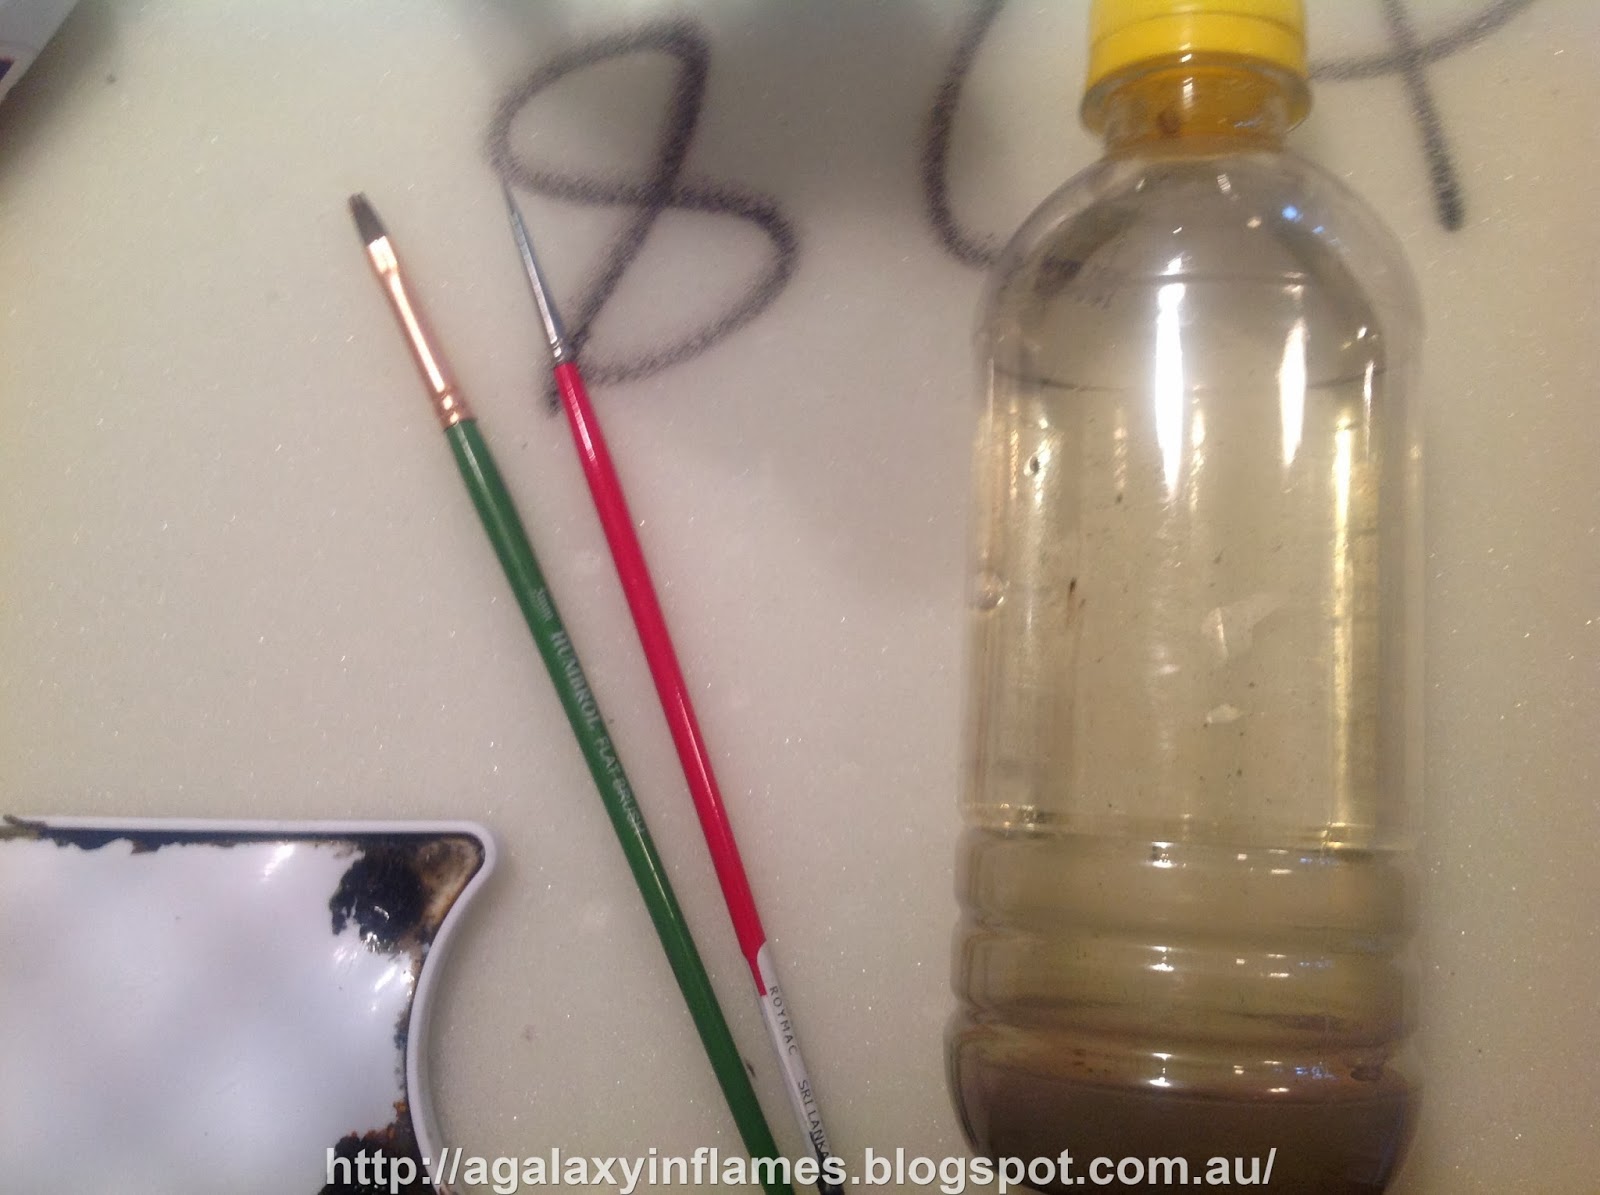
 The brushes are nothing special, one is large, and for mixing, as oils require far more mixing then enamels or acrylics. Next to them is an old water bottle with regular turps in it. This is our cleaning bottle, as artists turps is too expensive to waste on cleaning.

SAFETY NOTE: If you have small children in your household, or a "special needs" hobby mate, (we all have one, my "special needs" mate is Wadey) they might want to drink the bottle. I advise you to empty the bottle after each use to minimise the risk of this occurring.

Ok, "so on with it!" I hear you say,


 This is our paint. This is enough to do more then one model. Tiny huh?


 Here is some scale reference. The smear is about the size of a shoulder pad in surface area.


 I am using No.1 Artists Oil Medium here. It is the faster drying out of the two mediums I have in regular use. Here you can see I have mixed up about 15 times the amount of paint I started with, due to the medium. This is highly important as the paint needs to be thin enough to free-flow around the model without spreading too thin.


Here is our nice clean shoulder pad. All this is is a little primer, and a gentle airbrush to whiten the grey. I have then used a Semi-gloss varnish to help aid the oil in being applied exactly where I want it to go.


 You can see here that when I gently touch the brush to the surface, the oil will self-applicate, utilising the principle of capillary action. You only have to use a small amount of paint as it will go quite a long way, remember, in hobby it's wise to under-do something before you go overboard.


 So, here you can see the face has also been done. This kind of detail took me a minute, much much quicker then a standard acrylic wash, and you can see there are no nasty smears on the helmet, instead we have crisp, clear lines (it even shaded the internal edges of the eye sockets).

From here, you want to allow about 24 hours for the paint to properly dry, as the medium is very slow to evaporate. Once dry, use a gloss or semi-gloss varnish to seal the oils, and then apply your matte varnish to take away the shine. I say to do this two-step process as matte varnish doesn't seal, it ONLY takes away shine by adding microscopic texture to a surface.

WARNING: Remember how I said earlier how you don't want to go too think or too thin? I have prepared a quick image on that to demonstrate.


On the lower left, you have the incorrect mix with too little medium. This mix is like a paste, it is very similar to undiluted PVA glue, and if you go to apply it, it will fail hard.

The one on the lower right is too thin. You can see just by looking at it how watery looking it is. This one will spread when applied to a surface, rater like a conventional acrylic wash.

The center splotch of paint is just right, you can see from the sheen and the area around it that it is halfway between the two, being thin, but not so thin that it will try to coat the entire surface of a model.


Well, that's all for now gang. I hope this has helped you out. If it didn't, or you think I am an ass and got something wrong, please let me know in the comments section so I can make amendments in the next article, 'Working With Oils- Part 2', which will talk about weathering effects. Thanks for taking the time out to read this, Macca.