Gday Guys,
Keepy here with the first instalment of my 1000pt Mechanicum Army. As I was saying in my previous post, this army is going to be used in "The Emperor's Legions" tournament held in Brisbane in mid March this year. Its an event I am really looking forward to and word on the street is there are a few
VERY accomplished painters (read: Slayer Sword / Armies on Parade winners) so I am really going to have to raise the bar if I want to stand a chance with paint scores on this one.
I decided to build this army in one hit, sort of like a factory approach. All the parts are cleaned of flash and mould lines then a small hole is drilled to allow a toothpick to be glued to make spraying easier. These are then stuck into foam blocks. Nothing like pointing your airbrush / spray can at some parts to have them launched into orbit and spend the next 20 mins searching around the place for them.
 |
| Early shot of progress, 1x Castellax down |
This process can be a bit tedious but makes it easier in the end. If you can push thru and get the bulk of what you want done it makes for great painting sessions.
 |
| Thallax Cohort, Magos and lots of Castellax bits and bases |
I fixed the feet to the bases for ease of posing. I didn't want to get a heap of well painted parts then have to damage them fitting to bases just to get the right pose. Once again I am using a combination of Secret Weapon Urban Rubble and Urban Streets 60/40mm bases. This proved difficult with the Castellax's large feet, as they would not sit flat. Quick fix: Mount the feet on some sheet brass and rubble! The brass is twisted to look like it has buckled under the weight of a large robot. I will fill in bits of the base with extras like I did with my Justaerin bases, that will come later.
 |
| Brass plate fixed to foot |
 |
| Brass plate shaped to looked squashed by foot |
With the feet in place, the rest of the model could be posed and sub-assemblies were made, mainly of the weapons systems, arms and legs. This will make painting easier. I magnetised the Castellax's Flamers and Boltguns so quick changes could be made, you are also not stuck with one option of weapons. I used 2mm x 1mm rare earth magnets, the smallest size I could without compromising the strength of the magnet or the resin of the model.
 |
| Magnetised Flamers |
I wanted to use Darkfire Cannons, and since there is no model for that yet I have to proxy one. It is just an IG Lascannon and an Imperial Targeter with a bit of modification. This also has a 3mm x 2mm Rare earth magnet so it can be swapped out with the Bolt Cannon.
 |
| Makeshift Darkfire Cannons |
The Bolt Cannon ammo hopper and belt were also magnetised allowing a full change of weapon load outs. This was only done on one squad of Castellax Battle-Automata.
 |
| Magnetised Bolt Cannon hopper |
Once all the parts were cleaned up, I gave the whole lot a bath in hot soapy water then rinsed them thoroughly to get rid of any mould release. This happened before the toothpicks were added to prevent the timber from swelling and keeping moisture on the model.
 |
| Getting there, 3x Castellax down |
 |
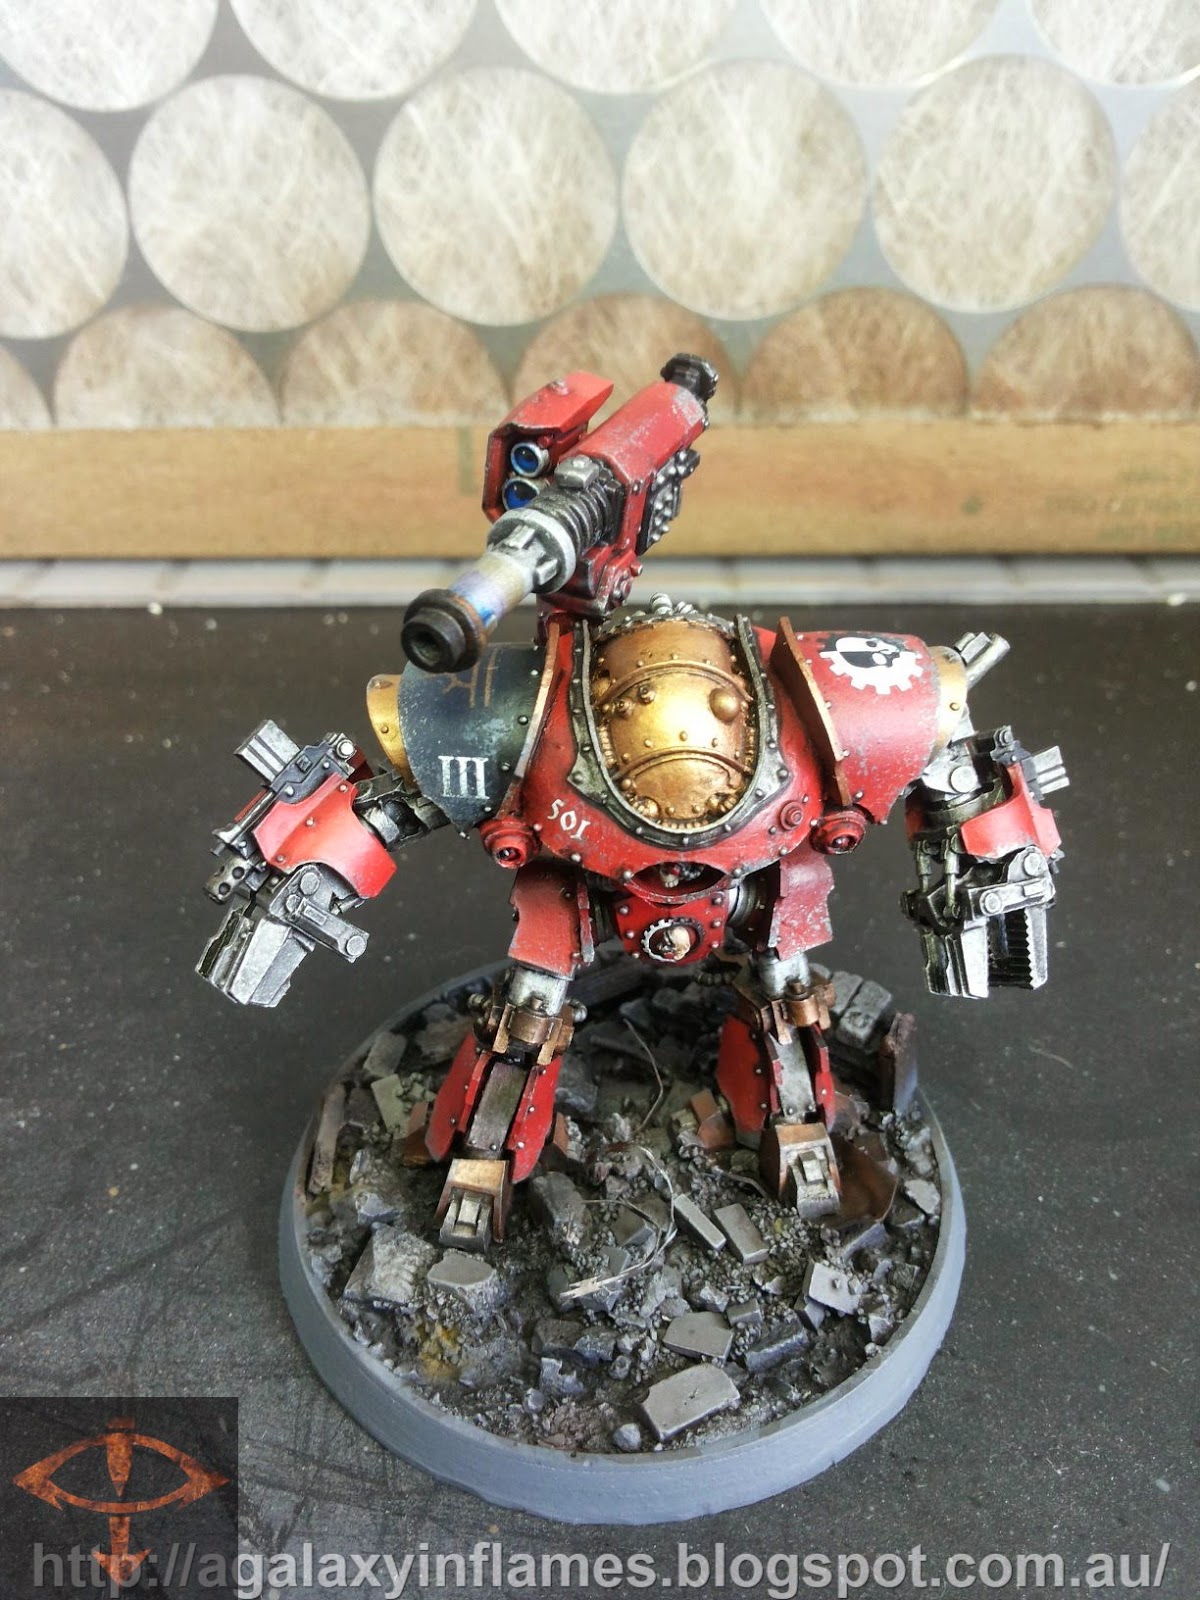
| Done! Well almost |
Well there you have it, all bar one robot done. I didn't like the base for the 6th Castellax so I will have to order another one. I was trying out the Secret Weapon Trenches bases and it just didn't feel right next to the others. All the parts are cleaned up and on sticks, just need to pose the legs and arms and it is done.
I numbered off the foam trays and the bottom of the bases so no mix ups occur during the painting. Main reason for this is I intend on going all out with the bases again and individual poses will only fit on their own customised base.
So there you go, a Mechanicum army built and prepped in a couple of days.
That's all for now, stay tuned for more soon!
Keepy
Links:
1. Mechanicum 1000pts List
2. Mechanicum WIP 1
3. Mechanicum WIP 2
4. Mechanicum WIP 3 - Basing
5. Mechanicum WIP 4
6. Mechanicum 1000pts Completed!


.jpg)
.jpg)
.jpg)
.jpg)
.jpg)
.jpg)
.jpg)
.jpg)
.jpg)
.jpg)
.jpg)
.jpg)
.jpg)
.jpg)

.jpg)
.jpg)
.jpg)
.jpg)
.jpg)
.jpg)
.jpg)
.jpg)
.jpg)
.jpg)
.jpg)
.jpg)
.jpg)


