Showing posts with label Jump Pack. Show all posts

Tuesday, 8 September 2015

Fear the Reaver!!!


Gday Guys, Keepy here.

In recent times some of our other authors have written about legion specific Rites of War or units, and a few of you have requested something on Sons of Horus. As the resident player of the mighty XVI, I am more than happy to give you some thoughts of mine.

I am still play testing and getting my head around a competitive army for the Sons of Horus Rite of War, The Black Reaving, so I will leave this for now. What I have been playing with much success are the Reaver Attack Squads. I have never really used them much until recently, and I think I have found a few guidelines (albeit expensive ones) on how to use them.

Reaver Attack Squad Basics


To start with, lets have a look at the unit itself. A Reaver Attack Squad costs 135pts base for a unit of 5 models, including a Chieftain (Sergeant) with the option of taking up to ten more models for 15pts each, taking up a Fast Attack slot. The stat lines are nothing to write home about, fours across the board with the exception of attacks, two base for a Reaver and three base for a Chieftain. These stats are pretty much on par with a Legion Veteran Tactical Squad, again with exception to the Chieftain. They come equiped with Power Armour, Bolt Pistols, Chainswords / Combat Blades, Frag and Krak Grenades.


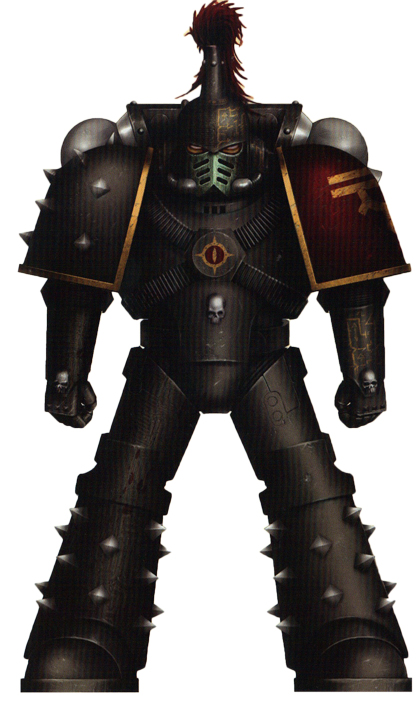
The Reavers also come with some pretty handy special rules, Assassin's Eye and Outflank, on top of the usual Legion Astartes (Sons of Horus). Assassin's Eye gives the entire unit Precision Shot and Precision Strike despite not being characters, very handy for getting rid of that Sergeant or Apothecary before laying into your target unit. As long as the Reaver unit is not equipped with Jump Packs, it may also take a Rhino or an Anvillus Pattern Dreadclaw as a dedicated transport.

So we have some handy rules and a couple of transport options for an otherwise mediocre stat-lined unit. What makes these guys any good?

Saturday, 18 January 2014

Raven Guard Jump Pack Commander

Hello hello, Macca here, one of the three Prime Evils who works on this blog,

First up, I'm going to start with my Raven Guard. I spent a solid couple of weeks working on these guys, experimenting with a few new techniques. Overall, I am very happy with how they came out, but I will let you decide.


 This guy is a jump pack commander. I built him before Forge World released their MK II and III power weapon kits, so in order to get suitable lightning claws, I cut and filed a set of Warp Talons. This took a while as their was a lot of trim to remove. Once the trim was removed, I thought it would look great to add some rivets to the claws, just to add to that heresy era vibe. The rivets are just small pieces of round plasticard, and they were attached VERY carefully with poly cement.


 The main body is off an Emperors Children Palantine Blade, as I love the pose, it also provides a very characterful looking set of armour, which combined with the dynamism gives you a really 'come at me bro' look.


 At this stage the model has been painted, and hit all over with a gloss varnish. The reason this is done is so that the washes I add to it sink into the crevasses in the model. I use No.1 medium mixed with the oils, at about a 15:1 medium to oil ratio. The models throughout the Raven Guard are painted grey, the black oil is used to add depth to the grey (view the post on Abaddon for how the grey was done here ), as plain black is too boring. If you use No.1 medium, you will need to wait at least 8 hours between applying it and varnishing over the top. If you use No.2 medium (a slower drying medium) prepare to wait between 24 and 36 hours.


With decals applied. It is very important when you play with decals to thin them and seal them correctly. I am not going to go through the process right now, but keep an eye out for a future blog...