
G'day all! Today I am going to discuss physical damage techniques for use on vehicles (and to a lesser degree, infantry).
So, lets kick it off shall we?
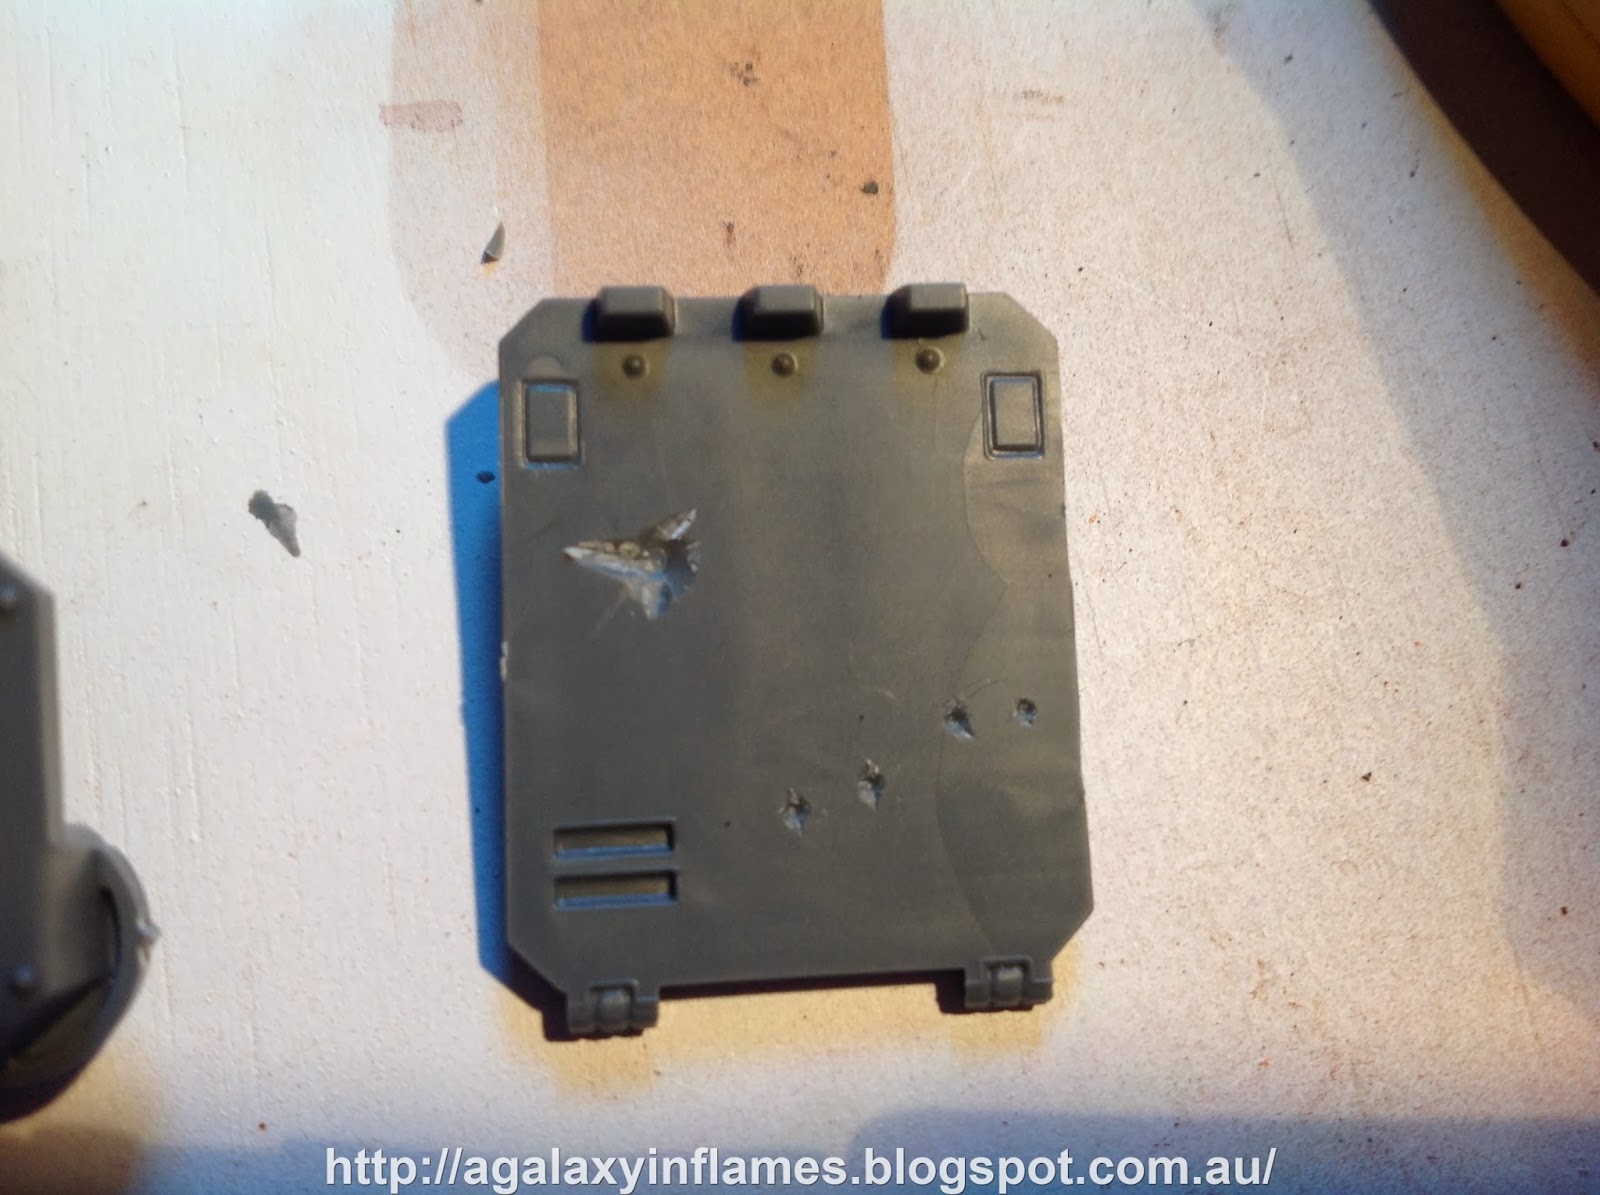
Ok, to start with, we have our token blank rhino side with hatch. Nothing special, these grow on trees in my magical resin workshop, but as it is so common, it's a great starting point.
So, lets kick it off shall we?
Ok, to start with, we have our token blank rhino side with hatch. Nothing special, these grow on trees in my magical resin workshop, but as it is so common, it's a great starting point.

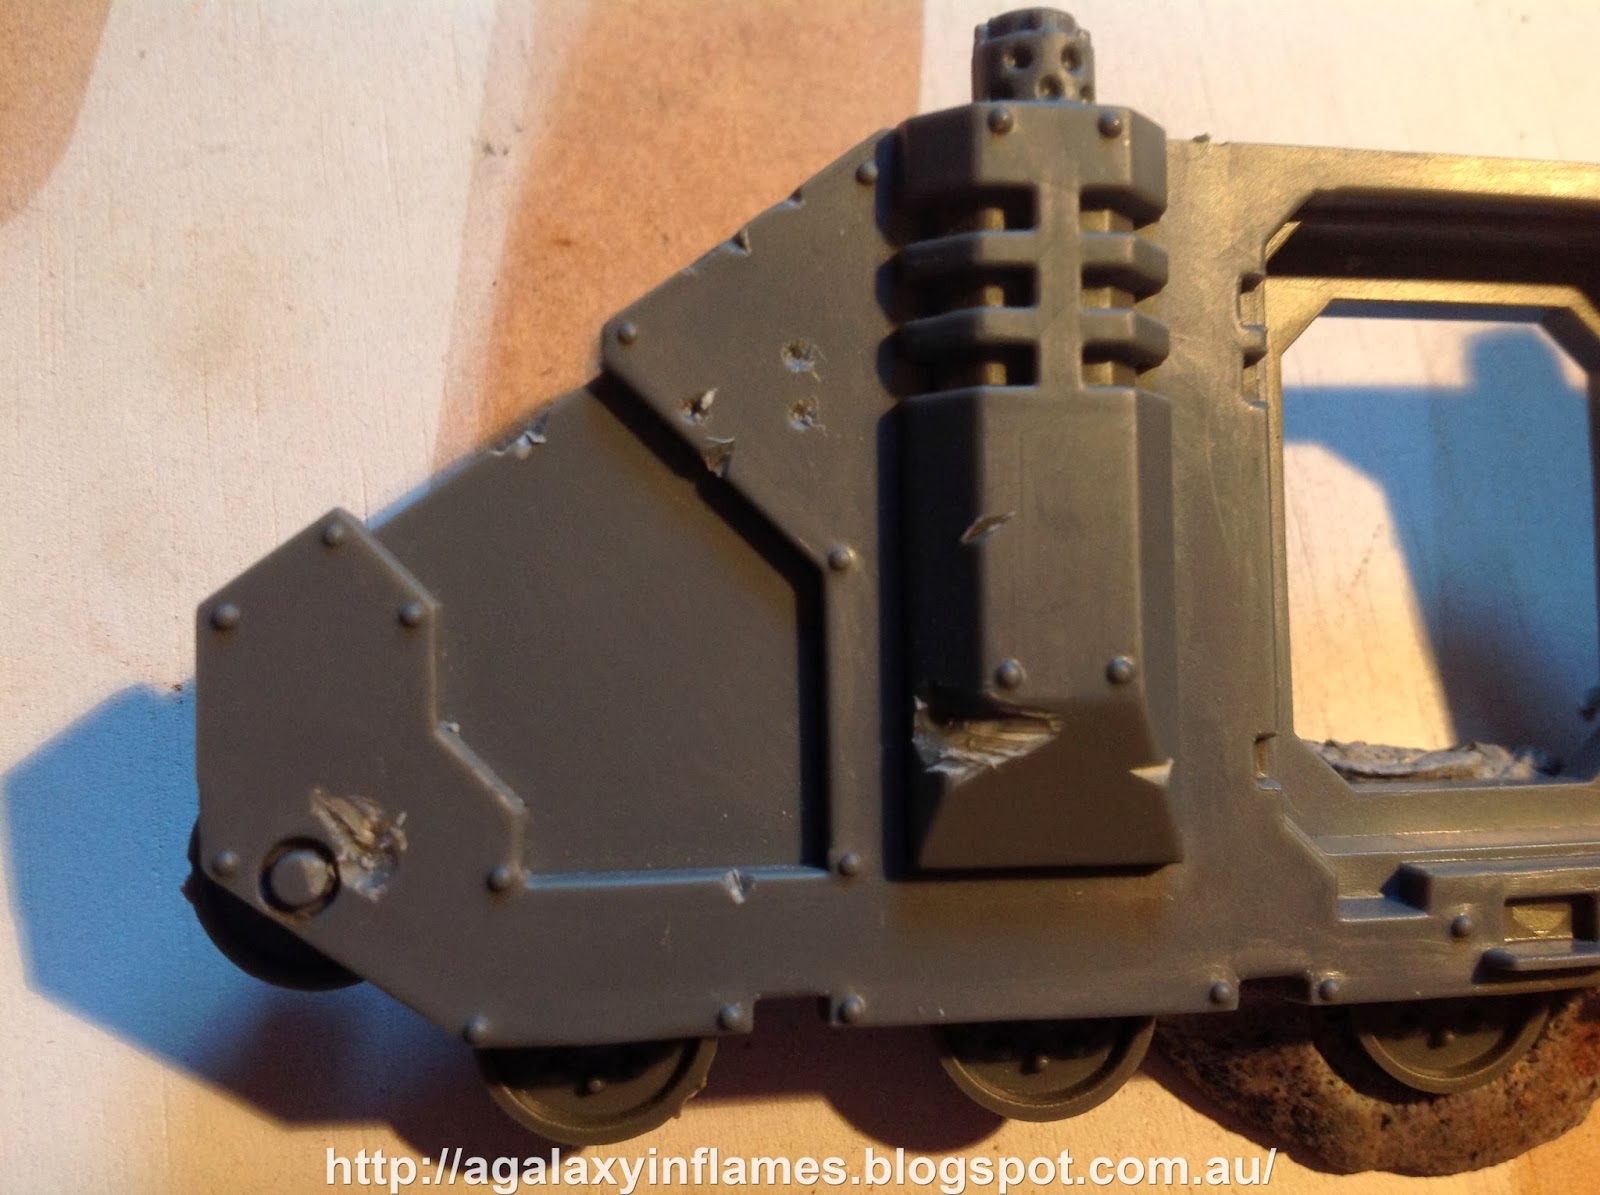
Ok, so the first thing we do is drill a series of holes. I have chosen a couple of large ones, to represent impacts from larger ordnance, as well as a series of smaller surface impacts. Unless you are an ork, you really don't want to go overboard here, I find the suggestion of damage says more.

Next, we take a sharp hobby knife, preferably a scalpel, tho you can escape with some sharp stanley knife blades, and we cut a small series of 'V' shapes into the hull. these show gouges and ricochets, and add a bit more dynamism. We also cut minor 'V's into the holes will drilled, as the material used in tanks is ceramite, and it chips away with impacts, rather then just forming perfect dints.


Ok, next we throw a coat of light grey primer over the hull, I like working with grey as it is VERY forgiving, and also, I have a lot of grey primer around.

The selection of paints shown here are suggested, I actually only used the Game Colour 'Wolf Grey', Tamiya 'Flat Black XF-1' and the Citadel Agrax Earthshade. The two other Tamiya brand paints shown are useful as replacements for the black, if you want less contrast, more on that later.

First stop, we gently wash the rivets, and the impacts with the earthshade. This helps to give some depth and realism to our hull.

Next, we use the Flat Black, as I mentioned earlier as it contrasts well, andwe sponge it around the hull plates and door. Aim for the edges of plates, as these are the most likely places to wear away.

Next up, I take the Wolf Grey and liberally apply it with a fine brush, placing little dots around the sponged areas. This gives the impression of chipped plate down to the ceramite layer.

Ok, the hard part now. We very gently brush small streaks of the light grey around the physical damage. This will enhance the 3D effect of the impacts, and also adds the realisim, as those who have seen vehicles that have been struck in real life conflict can assure you, that the paint actually shatters from the kinetic force of the rounds impacting.

Next, we grab some of our trusty Tamiya weathering powder. I am using oil stain, as it is nice and dark, suitable for carbon build up and burn damage.

here, you can see I have applied the powder around the vents on the hull and the exhausts. I have also very gently applied some powder around the larger impacts, giving a sense that whatever struck the vehicle caused thermal damage, such as plasma, melta, rocket or even a lascannon.

Finally, I use a little Secret Weapon brand powder to apply a small dusting of earthy grit around the lower panels of the vehicle.

So here we have it, the finished results of our realistic damage.


I hope you find this handy. As always, please feel free to comment,
~Macca
~Macca
Thanks for the feedback mate. It is really hard to come up with content that enhances or adds to what others may have done already, and there are quite a lot of weathering tutorials out there. For me, the approach has been a 'what do I like, what don't I like' one. With that in mind I have set about trying to make tutorials that use the most basic of materials, aimed at hobbyists who are new to the scene.
ReplyDeleteI don't want to step on people's toes here, but I feel that a lot of tutorials are skipping the fundamentals, sort of like a morning show where they mix the ingredients and poof! there's a fully cooked meal. That's what I am trying to avoid, and your comment helps to cement it in my mind that I am doing the right thing. Thank you for your continued support and feedback Frothy!