
I have often been asked in the past about working with oils. I have said a few quick words on it in earlier posts, but I would like to use this opportunity to talk about it more in depth.
So here goes.

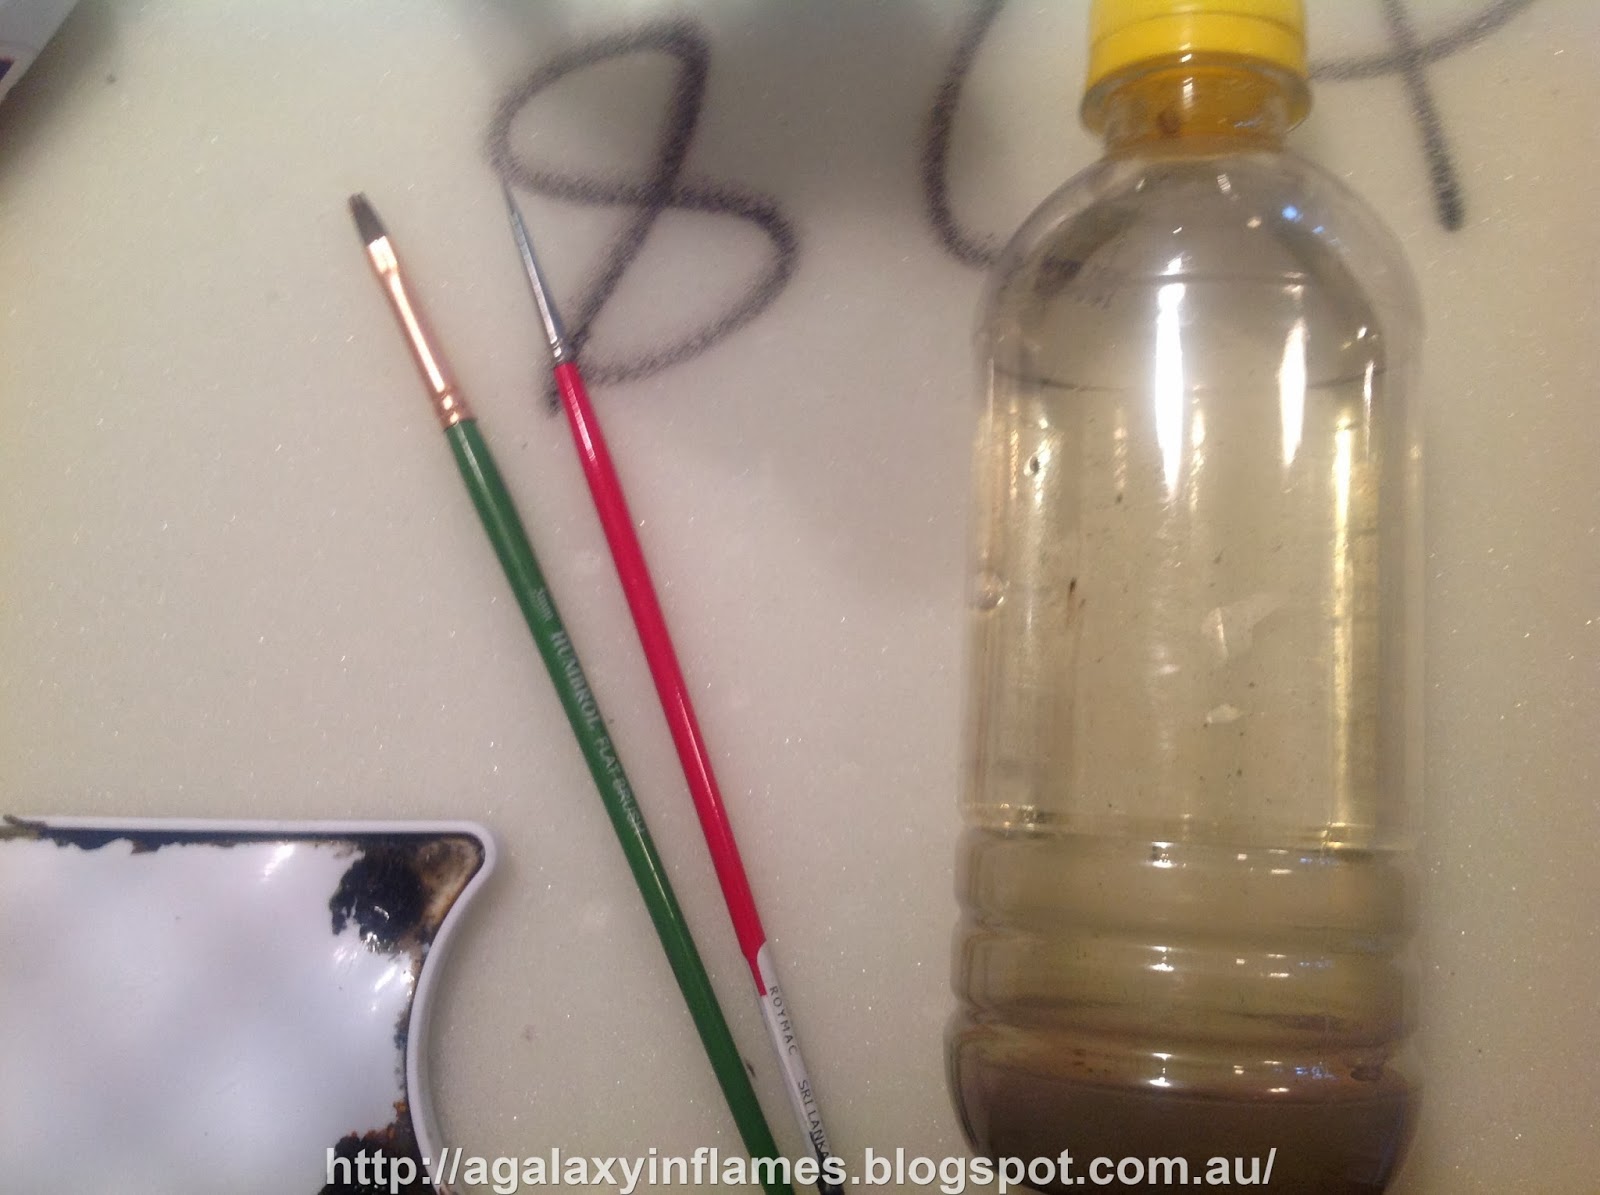
First up we have all the bits we need, from left to right, top to bottom, we have our paint medium, oil paint, artists turps, mixing brush, delivery brush, cleaning bottle, our test model, and our palette.

These are the mediums, Art Spectrum brand, $10.20 Australian Dollars, so pretty cheap, even for here, these things will last you quite a while (I have painted 3000 points of Legion Raven Guard and have barely used a tenth of one). These are ESSENTIAL for working with oil paints, as they allow you to correctly thin the paints and bond excellently to the surface.
Note: Water and conventional thinners etc will not work correctly, as we all know that you can't mix oil and water without an emulsifier (those in science or tradie land know what I mean), so don't do it.

Here I have the oils. As an example, I have Art Spectrum Lamp Black, and Art Prism Zinc White. For the purpose of this Tutorial, I will be using the Lamp Black.

Here is artists turps. Again, we have Art Spectrum brand, but that's not important. What is is what's in the bottle. Regular turpentine from the supermarket is nasty stuff. It contains a lot of chemicals which are bad for the paint, and bad for you (Don't get me wrong, this stuff is still bad for you, don't go mixing it with loaves of bread and drinking it, cos' in all likelihood, you will die).
It is, however, much better for use in working with your oils, as a dillutant, or as a medium in its own right, (more on that later~ Macca).

Here is 'Fred' the Space Marine, our demo model. Isn't he lovely?
The brushes are nothing special, one is large, and for mixing, as oils require far more mixing then enamels or acrylics. Next to them is an old water bottle with regular turps in it. This is our cleaning bottle, as artists turps is too expensive to waste on cleaning.
SAFETY NOTE: If you have small children in your household, or a "special needs" hobby mate, (we all have one, my "special needs" mate is Wadey) they might want to drink the bottle. I advise you to empty the bottle after each use to minimise the risk of this occurring.
Ok, "so on with it!" I hear you say,

This is our paint. This is enough to do more then one model. Tiny huh?

Here is some scale reference. The smear is about the size of a shoulder pad in surface area.

I am using No.1 Artists Oil Medium here. It is the faster drying out of the two mediums I have in regular use. Here you can see I have mixed up about 15 times the amount of paint I started with, due to the medium. This is highly important as the paint needs to be thin enough to free-flow around the model without spreading too thin.

Here is our nice clean shoulder pad. All this is is a little primer, and a gentle airbrush to whiten the grey. I have then used a Semi-gloss varnish to help aid the oil in being applied exactly where I want it to go.

You can see here that when I gently touch the brush to the surface, the oil will self-applicate, utilising the principle of capillary action. You only have to use a small amount of paint as it will go quite a long way, remember, in hobby it's wise to under-do something before you go overboard.

So, here you can see the face has also been done. This kind of detail took me a minute, much much quicker then a standard acrylic wash, and you can see there are no nasty smears on the helmet, instead we have crisp, clear lines (it even shaded the internal edges of the eye sockets).
From here, you want to allow about 24 hours for the paint to properly dry, as the medium is very slow to evaporate. Once dry, use a gloss or semi-gloss varnish to seal the oils, and then apply your matte varnish to take away the shine. I say to do this two-step process as matte varnish doesn't seal, it ONLY takes away shine by adding microscopic texture to a surface.
WARNING: Remember how I said earlier how you don't want to go too think or too thin? I have prepared a quick image on that to demonstrate.

On the lower left, you have the incorrect mix with too little medium. This mix is like a paste, it is very similar to undiluted PVA glue, and if you go to apply it, it will fail hard.
The one on the lower right is too thin. You can see just by looking at it how watery looking it is. This one will spread when applied to a surface, rater like a conventional acrylic wash.
The center splotch of paint is just right, you can see from the sheen and the area around it that it is halfway between the two, being thin, but not so thin that it will try to coat the entire surface of a model.
Well, that's all for now gang. I hope this has helped you out. If it didn't, or you think I am an ass and got something wrong, please let me know in the comments section so I can make amendments in the next article, 'Working With Oils- Part 2', which will talk about weathering effects. Thanks for taking the time out to read this, Macca.
No comments:
Post a Comment