G'day folks, Macca here, and today I bring you a new tutorial type: Secret Weapon Bases. The idea behind this tutorial is to show those of you who are curious how to paint a variety of different bases, in this case in pre-cast resin.
To start with, I picked one of my favourites, wetlands. There is nothing new and groundbreaking to see here about painting wetlands, but that's not the point, the point it how I can show you some basic ways to get these effects.
The Prep.
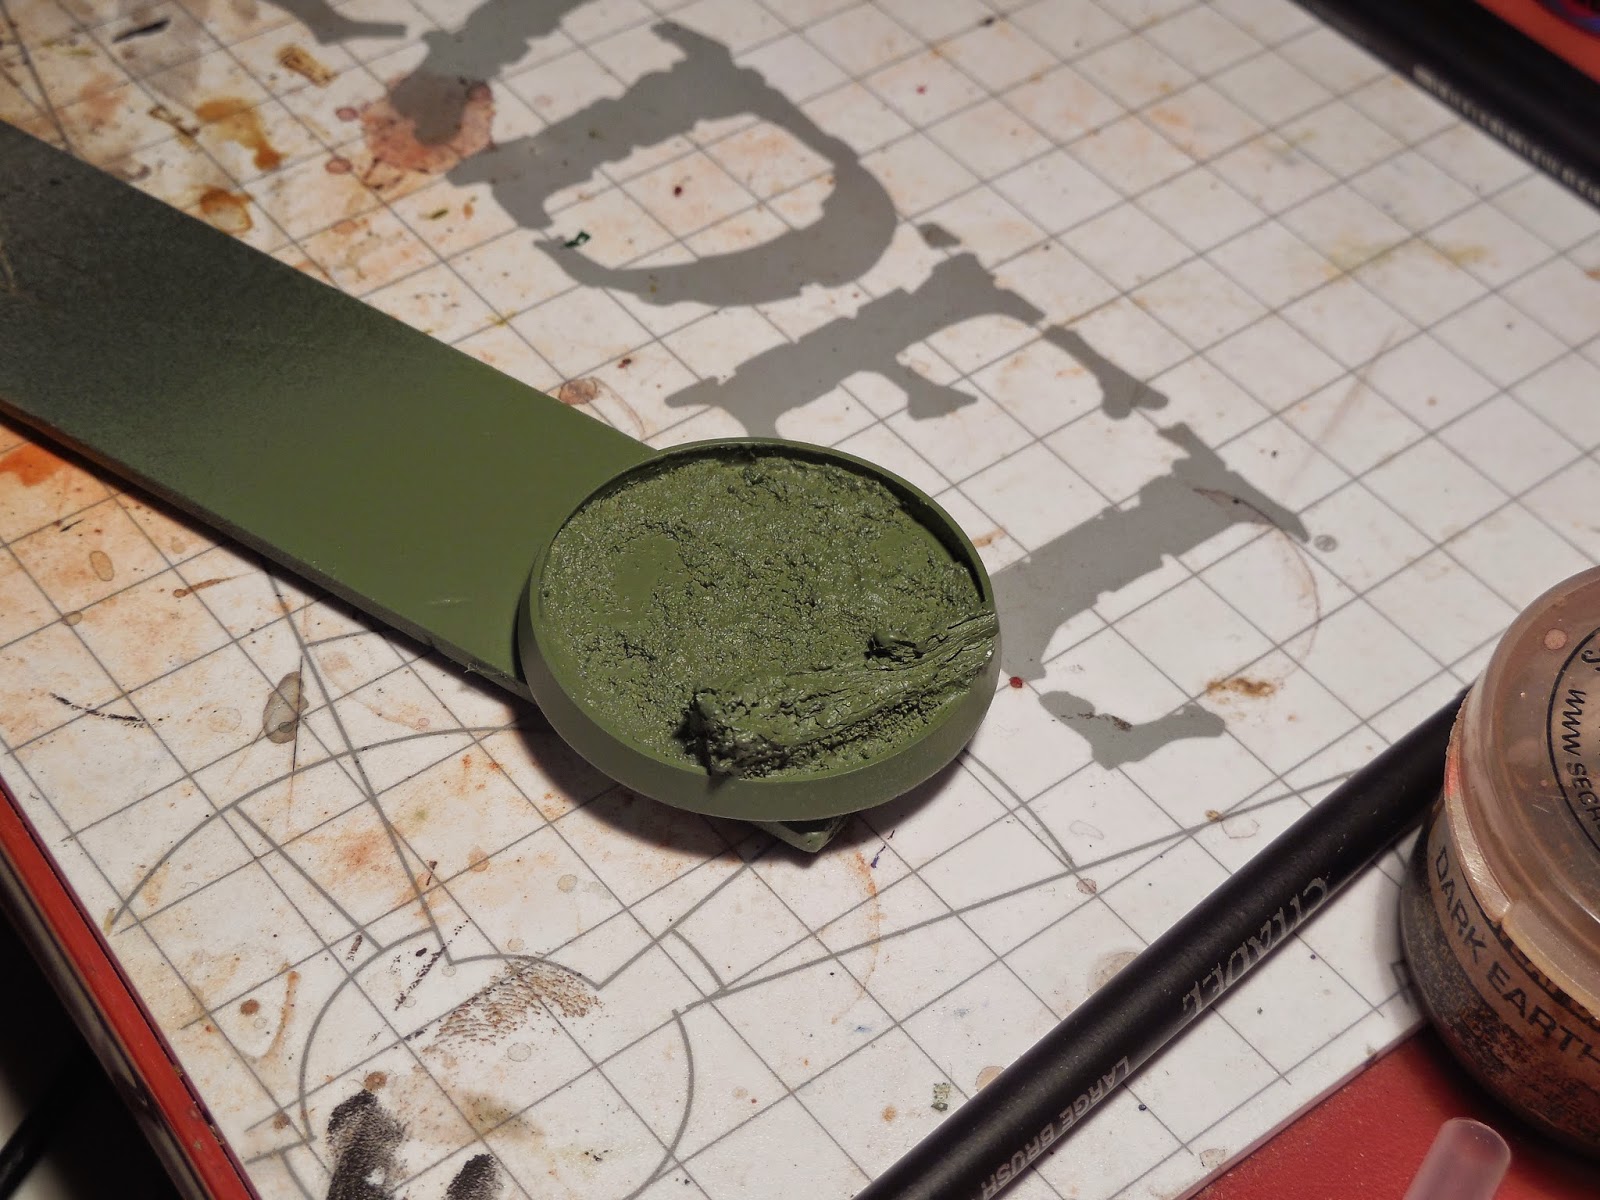
I started by gently sanding the mold overflow off the base edges, and then I washed the bases and gave them a quick undercoat with some Tamiya Light Grey primer. The idea is to just get some spray on, not to coat the entire base, as if you do so, then your base will be smooth and paint won't adhere as well. By misting on the spray, you create tiny variations in the surface texture, which will provide increased surface area, and thus, more for the paint to stick to.
Next, I lightly coated the base in an Army Painter green spray. This is the base coat I will use, as I want a nice swampy wetland. As I have several bases on the go, the one to look at here is on the left ;)
The Paint Scheme.
Next, I applied some Games Workshop 'Nurgles Rot' technical paint in the lowest areas of the base. This is to represent a sort of algae growing on the base. From there, I did a small black line around the edge of the base, and painted the log in GW 'Steel Legion Drab' base paint.
I now mixed GW 'Nurgling Green' layer with the 'Steel Legion Drab', and simply drybrushed the Log and the base in the areas where there was no algae.
The Scenics.
I now get out my bits of terrain and scenics from my little basing box of goodness. This box contains bark, twigs, sand, flock, resin, etched brass etc, and I find it a great little thing to keep around. Now, in this case, I'm using some fine twigs, from Hornby, as well as the wetlands basing kit from Secret Weapon, the sames guys who provided these bases.
First, I gather some of the twigs, and roll them together into a small bundle. From there, I cut the end off flat, dip it into some craft glue, and 'roll' the twigs between my fingers in order to help set the craft glue and keep a tight bundle.
Next, I end up with this. I decided that some smaller bundles would work better, so I simply cut this bundle in half. I then cut it down in length, providing me with a pair of 1/2 inch (about 12mm) lengths. I then gently trimmed the shrubs so that they are more ragged, as flat-top shrubs aren't true to nature, and thus look wrong to the eye.
From here, I again, dip the end into some craft glue, and apply the shrub to the base.
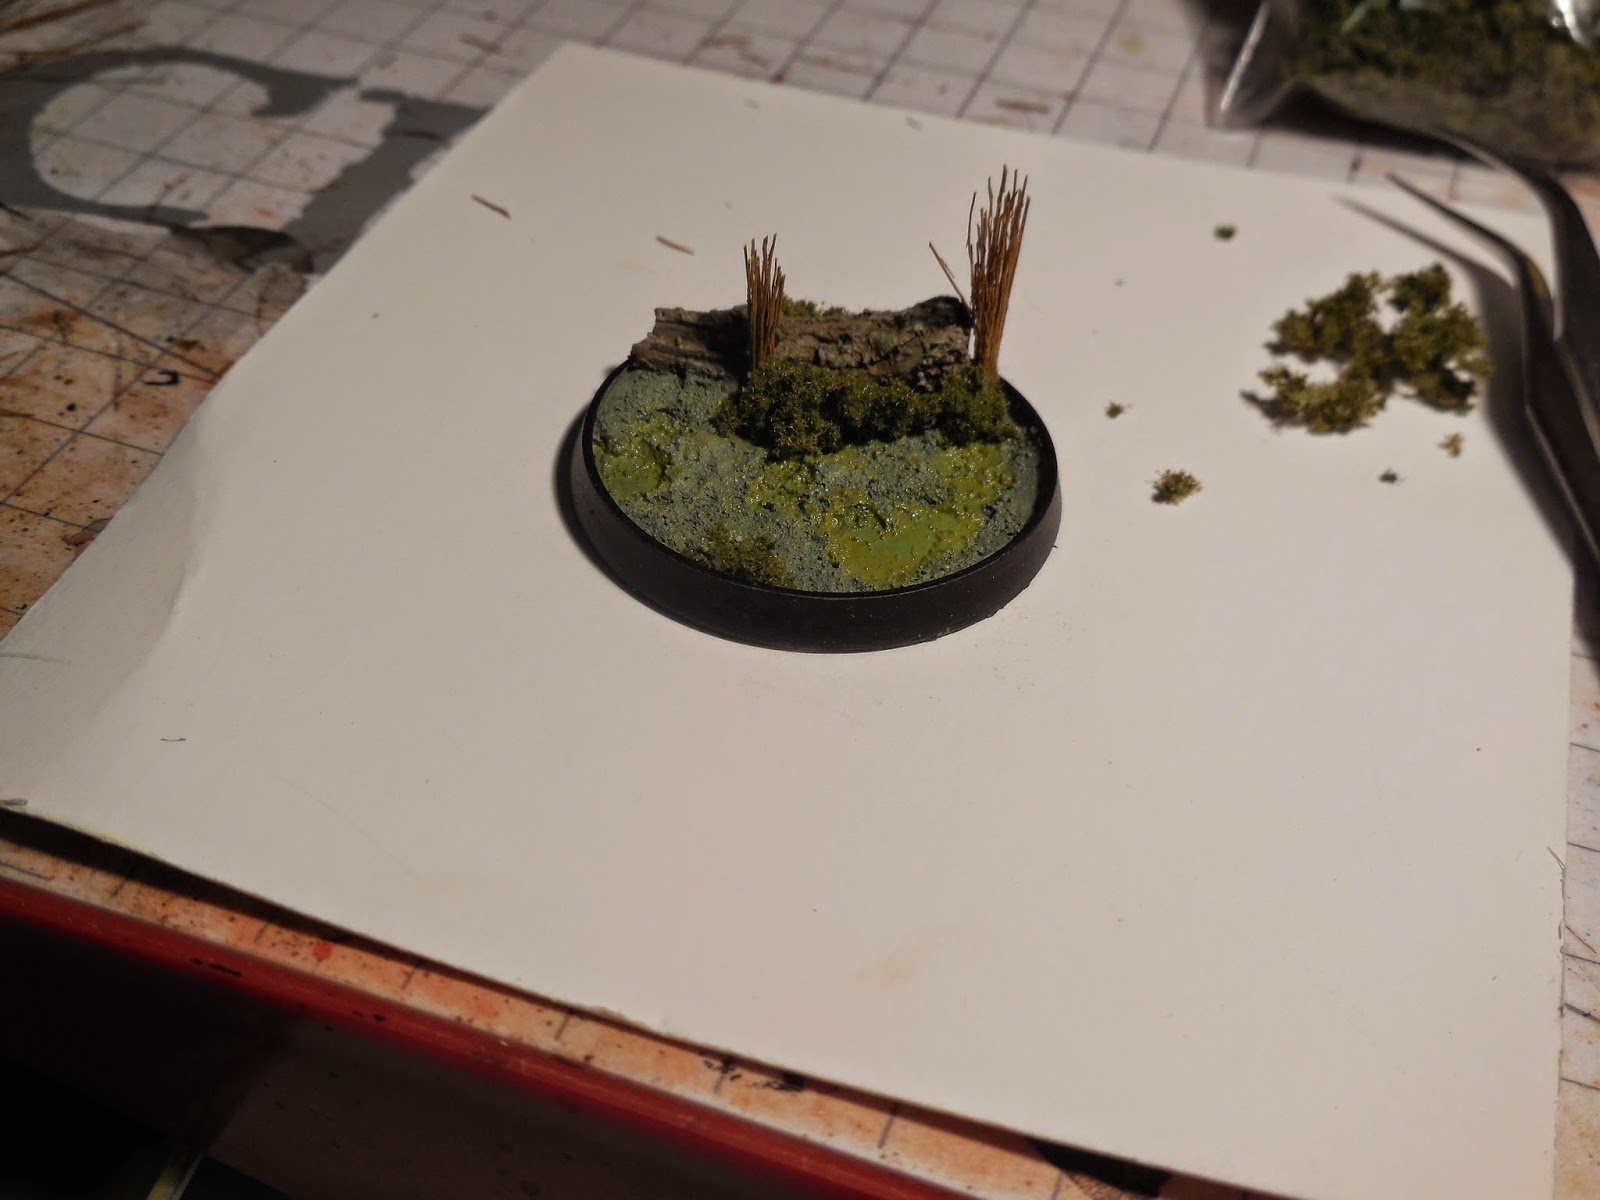
Now that I have my bushes in place, I apply a little super glue around some sections of the log, and place some of the foam shrubs around the log and shrubs.
I also took this opportunity to cut down the shrub on the left slightly, as I felt they were too identical.
After applying some more foam, this was the end result.
The Water.
Out comes my Secret Weapon 'Realistic Water'. This stuff is so superior to Games Workshop wet effects that it's not funny. It flows like water too, so it's easy to coat the base. The down side is, that you can only apply it in thin layers, and as it sets it will shrink slightly, so you will have to do multiple layers to finish a base. If you're doing large-volume work, I suggest using a clear resin.
There is nothing hard about this stage, you just apply the 'water' in little beads from the dropper bottle, and keep a toothpick handy to pop any air bubbles. The result is nice and simple:
Result:
Once dried, this is the end result:
I love the algae look in the bottom of the base, I think this would look great with some Heresy-era Death Guard strolling through it.
So there you have it, Secret Weapon Bases- Wetlands. This is the first in a 9-part series I have planned, so if you like the article and would like to see the rest of the series, let me know,
Macca

 Now i am by no means a committed cosplayer, but i have always wanted to build my own suit of Astartes Armour. Not powered by any means like the fictional descriptions but nonetheless to scale and gimmicky enough to just simply be.......awesome.
 The suit is being made out of roughly 12mm floor foam, the kind you buy cheap from bunnings, which is good because there is heaps required to make the suit. I've opted to build my suit just over 7 feet tall. Not quite the proper height for an Astartes but it will be tall enough to be imposing. I made this decision because i want to keep high dexterity with my hands, which meant i had to keep my arms in proportion with the height. any taller and my arms would look too much like T-rex paws.